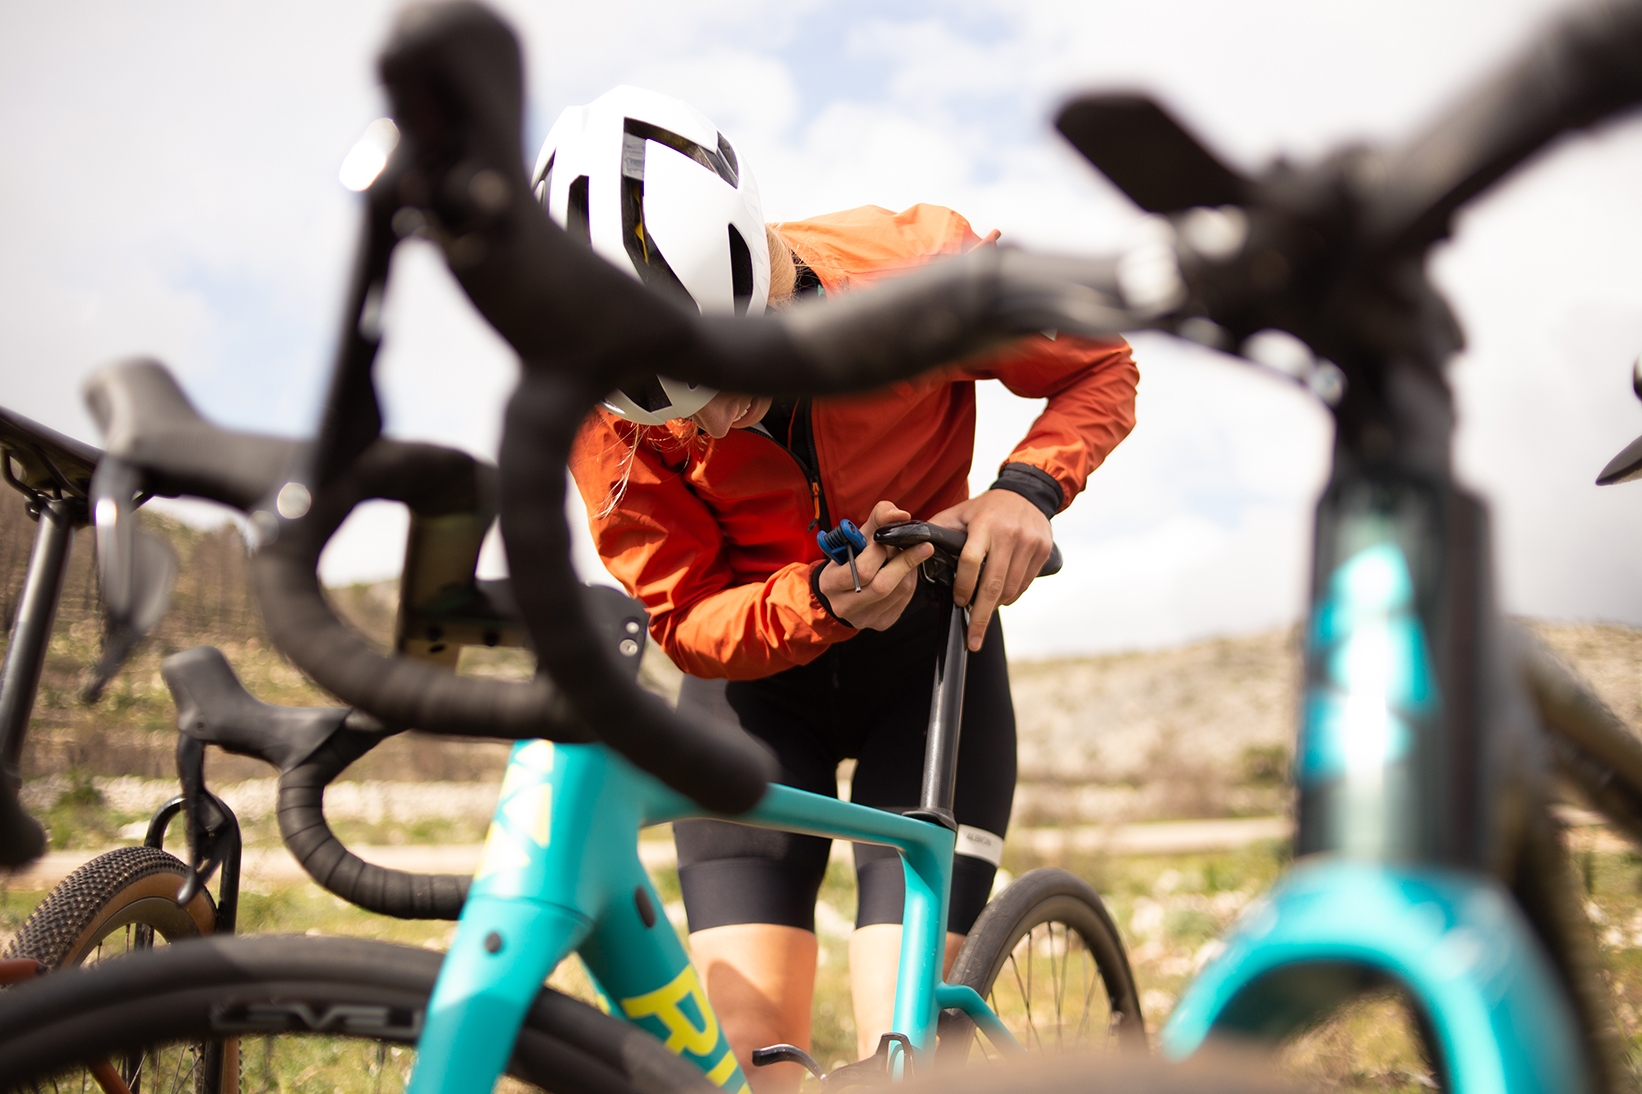
What are the essentials for every ride? The most common mistake for novice cyclists is heading out on the maiden test ride without appropriate equipment. After all, it's easy to get caught up in the excitement of your shiny new bike and forget about the possibility of picking up a puncture. To avoid making this faux-pas, why not check out our list of the key essentials for every ride?
Our pick of the top essentials for every ride
Here's our pick of the top 9 essentials for every ride. We're not saying you have to take all of them but heading out on a ride with the bare essentials is a must.
1. Debit/Credit Card
Never leave home without it. You may need to buy food for a much-needed energy boost, then, of course, there's the obligatory café stop. Coffee and cake....a cyclist's staple since time immemorial!
2. Inner Tubes
One tube is good, two is better. No matter how far the ride, you should have the bare minimum of one inner tube. If it's a longer ride, pack 2. Top tip - When purchasing inner tubes you need to take into account both the depth of the wheel rim and tyre width. Each inner tube has a valve stem that is used to inflate the tube. If the rims are quite deep you will require an inner tube that is a couple of cms longer to allow you to attach a bike pump. Remember it's better to be too long than too short. If you're in any doubt about the tyre size and inflation pressure, check the sidewalls of the tyre itself. It's always imprinted on the sidewalls.
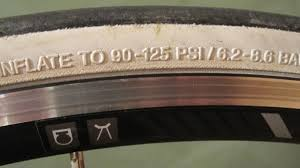
Tyre width and inflation pressures are imprinted into the sidewalls of the tyre
When purchasing tubes always ensure that you get the right width and valve length.
3. Pump
Having a spare tube is all well and good, but if you have nothing to inflate it with you are going nowhere fast. Investing in a decent quality pump is always recommended. There are a few different options available.
- Frame pump - This traditional style of pump is pretty long, it's intended to fit between the tubes of the frame. Because of the added length, more air is pushed into the tube with each stroke.
- Mini Pump - The trusty mini pump is compact so it can be attached to the bike or carried in a jersey pocket.
- CO2 cartridges - A gas canister is by far the fastest way to inflate a tube. Push a button or turn a lever and voila! Instant inflation. Take care though, for the canister and valve get very cold. Take care to cover your hands when using a CO inflator.
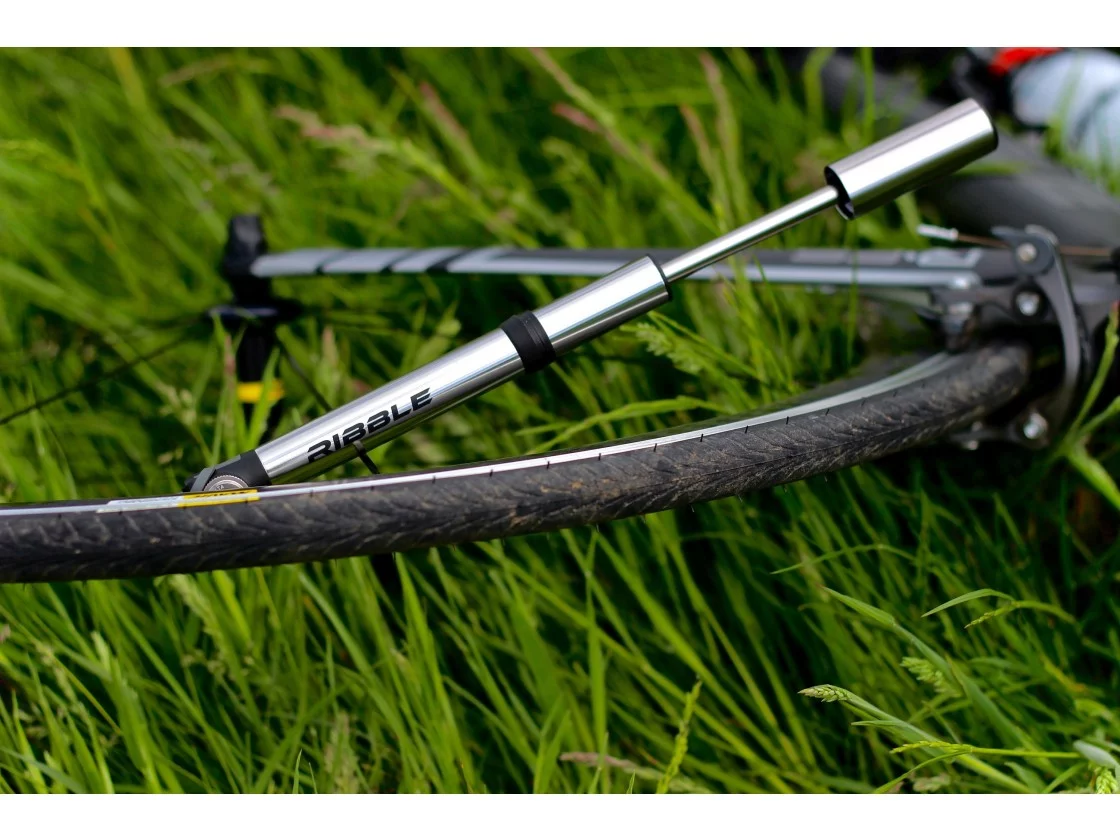
Mini pumps are compact enough to be carried in a jersey pocket or can be attached to the bike.
4. Tyre Levers
If there is one immutable fact in cycling it is this, some tyres are a royal pain in the backside to fit. Whereas others will pop onto the rim with the minimum of fuss. It is worth noting that due to the prevalence of tubeless compatible rims, tighter-fitting tyres are more common. For those of us who don't have granite-like digits, tyre levers are the only recourse.
To remove a tyre, simply slide a lever under the bead of the tyre and hold it in place. Some levers have a hook at one end so you can hook it around a spoke to keep it in-situ. Then insert the 2nd lever an inch or 2 from the first and remove the tyre by sliding the lever around the bead of the tyre. When refitting the tyre, try to avoid using levers if at all possible. The last few inches of the tyre are hardest to fit as the tyre is stretched and requires coaxing back onto the rim. It's easy to trap the inner tube between the tyre lever and rim. If you accidentally do this, be prepared for the loud boom as your inner tube gives up the ghost when reinflating the tube.
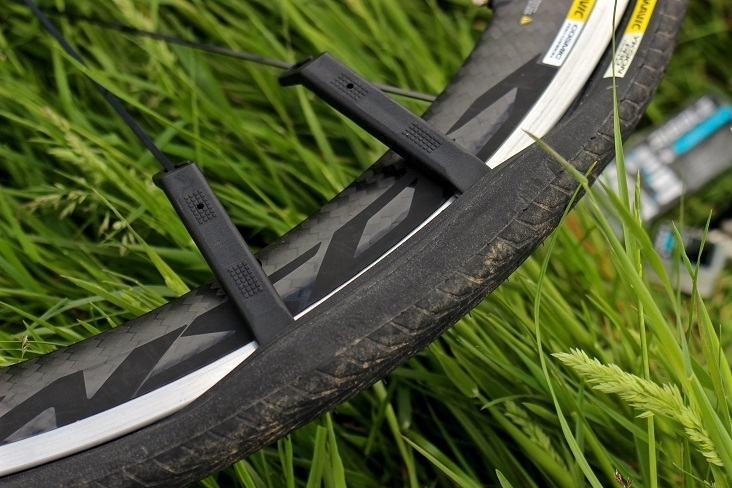
Note the tyre levers have a hook that attaches to the spokes to keep them in place.
5. Patches
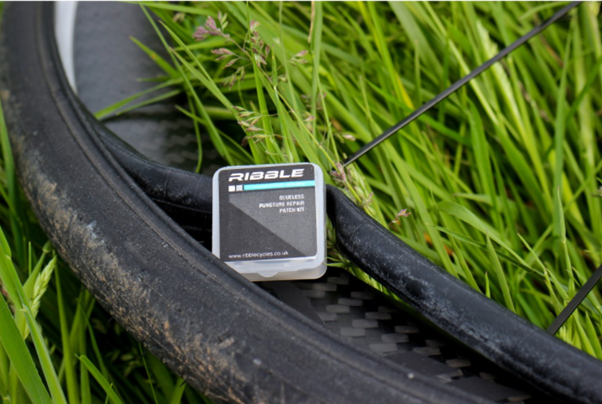
Earlier in this piece, we mentioned that taking spare tubes is highly recommended. But if you have a restricted carrying capacity or are unlucky enough to puncture the spare tube as well, there is always the trusty repair patch. Patches take up very little room and are highly recommended in case you hit real trouble
6. Tyre boot
When an inner tube simply isn't enough you may need to plug a slit, cut, or hole. You need a temporary repair to help you ride home or to a bike shop. There are a couple of options here
- Tool manufacturer 'Park Tools' produce a tyre boot which you can fit to cover the offending damage. Simply place the boot between the tube and tyre and inflate the tube as normal.
- Cut approximately 6 inches off an old tyre, remove the beads and 'voila' you have a homemade tyre boot.
- The new £5 note is made from a really durable material. This can also serve as an emergency tyre boot to get you home.
7. Multi-tool
Pushbikes have a lot of moving parts and there is plenty that can go wrong with them when far from home. The majority of issues can be fixed with a 4 or 5mm Allen key, but for those that can't, you may need more options.
We're not saying you should be a pro mechanic but a handy multi-tool with a good selection of tools will enable you to carry out roadside repairs, great or small. The smaller variants offer a basic selection of the essential tools. Whereas the larger, all singing/all dancing versions enable you to practically strip and rebuild the bike should you so wish? At the very minimum, we would recommend a multi-tool with a set of Allen keys and a chain breaker.
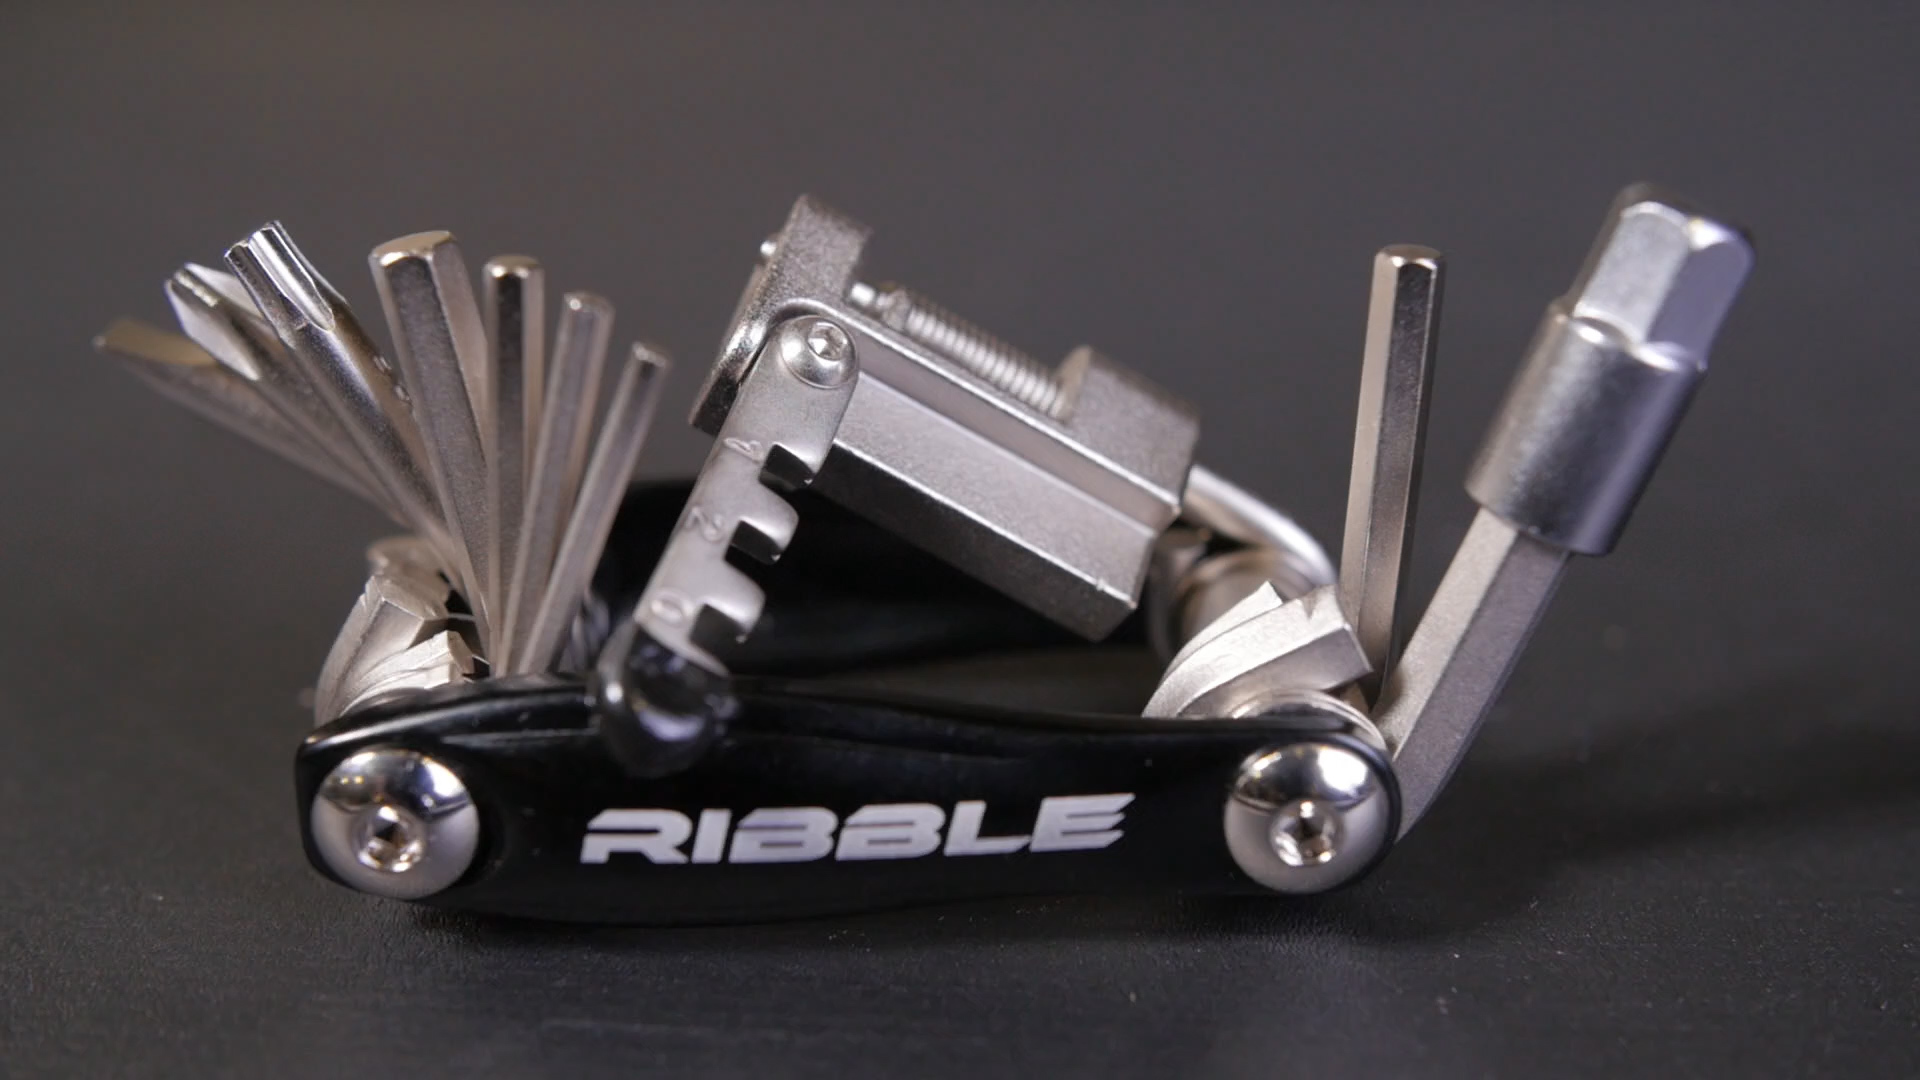
Small and compact, a multi-tool can handle most roadside repairs.
8. Waterproof
Now if it's a scorching hot day, admittedly, you may not need this. Though in the UK you never can be too sure, even then! We all know that weather reports are about as reliable as well.... the weather, don't we? If the skies are not pristinely clear of clouds, pack a waterproof, just in case. It need not be anything too intricate, just something lightweight that can be stuffed into a jersey pocket or bag. Something that can be whipped out for protection when the skies darken ominously.
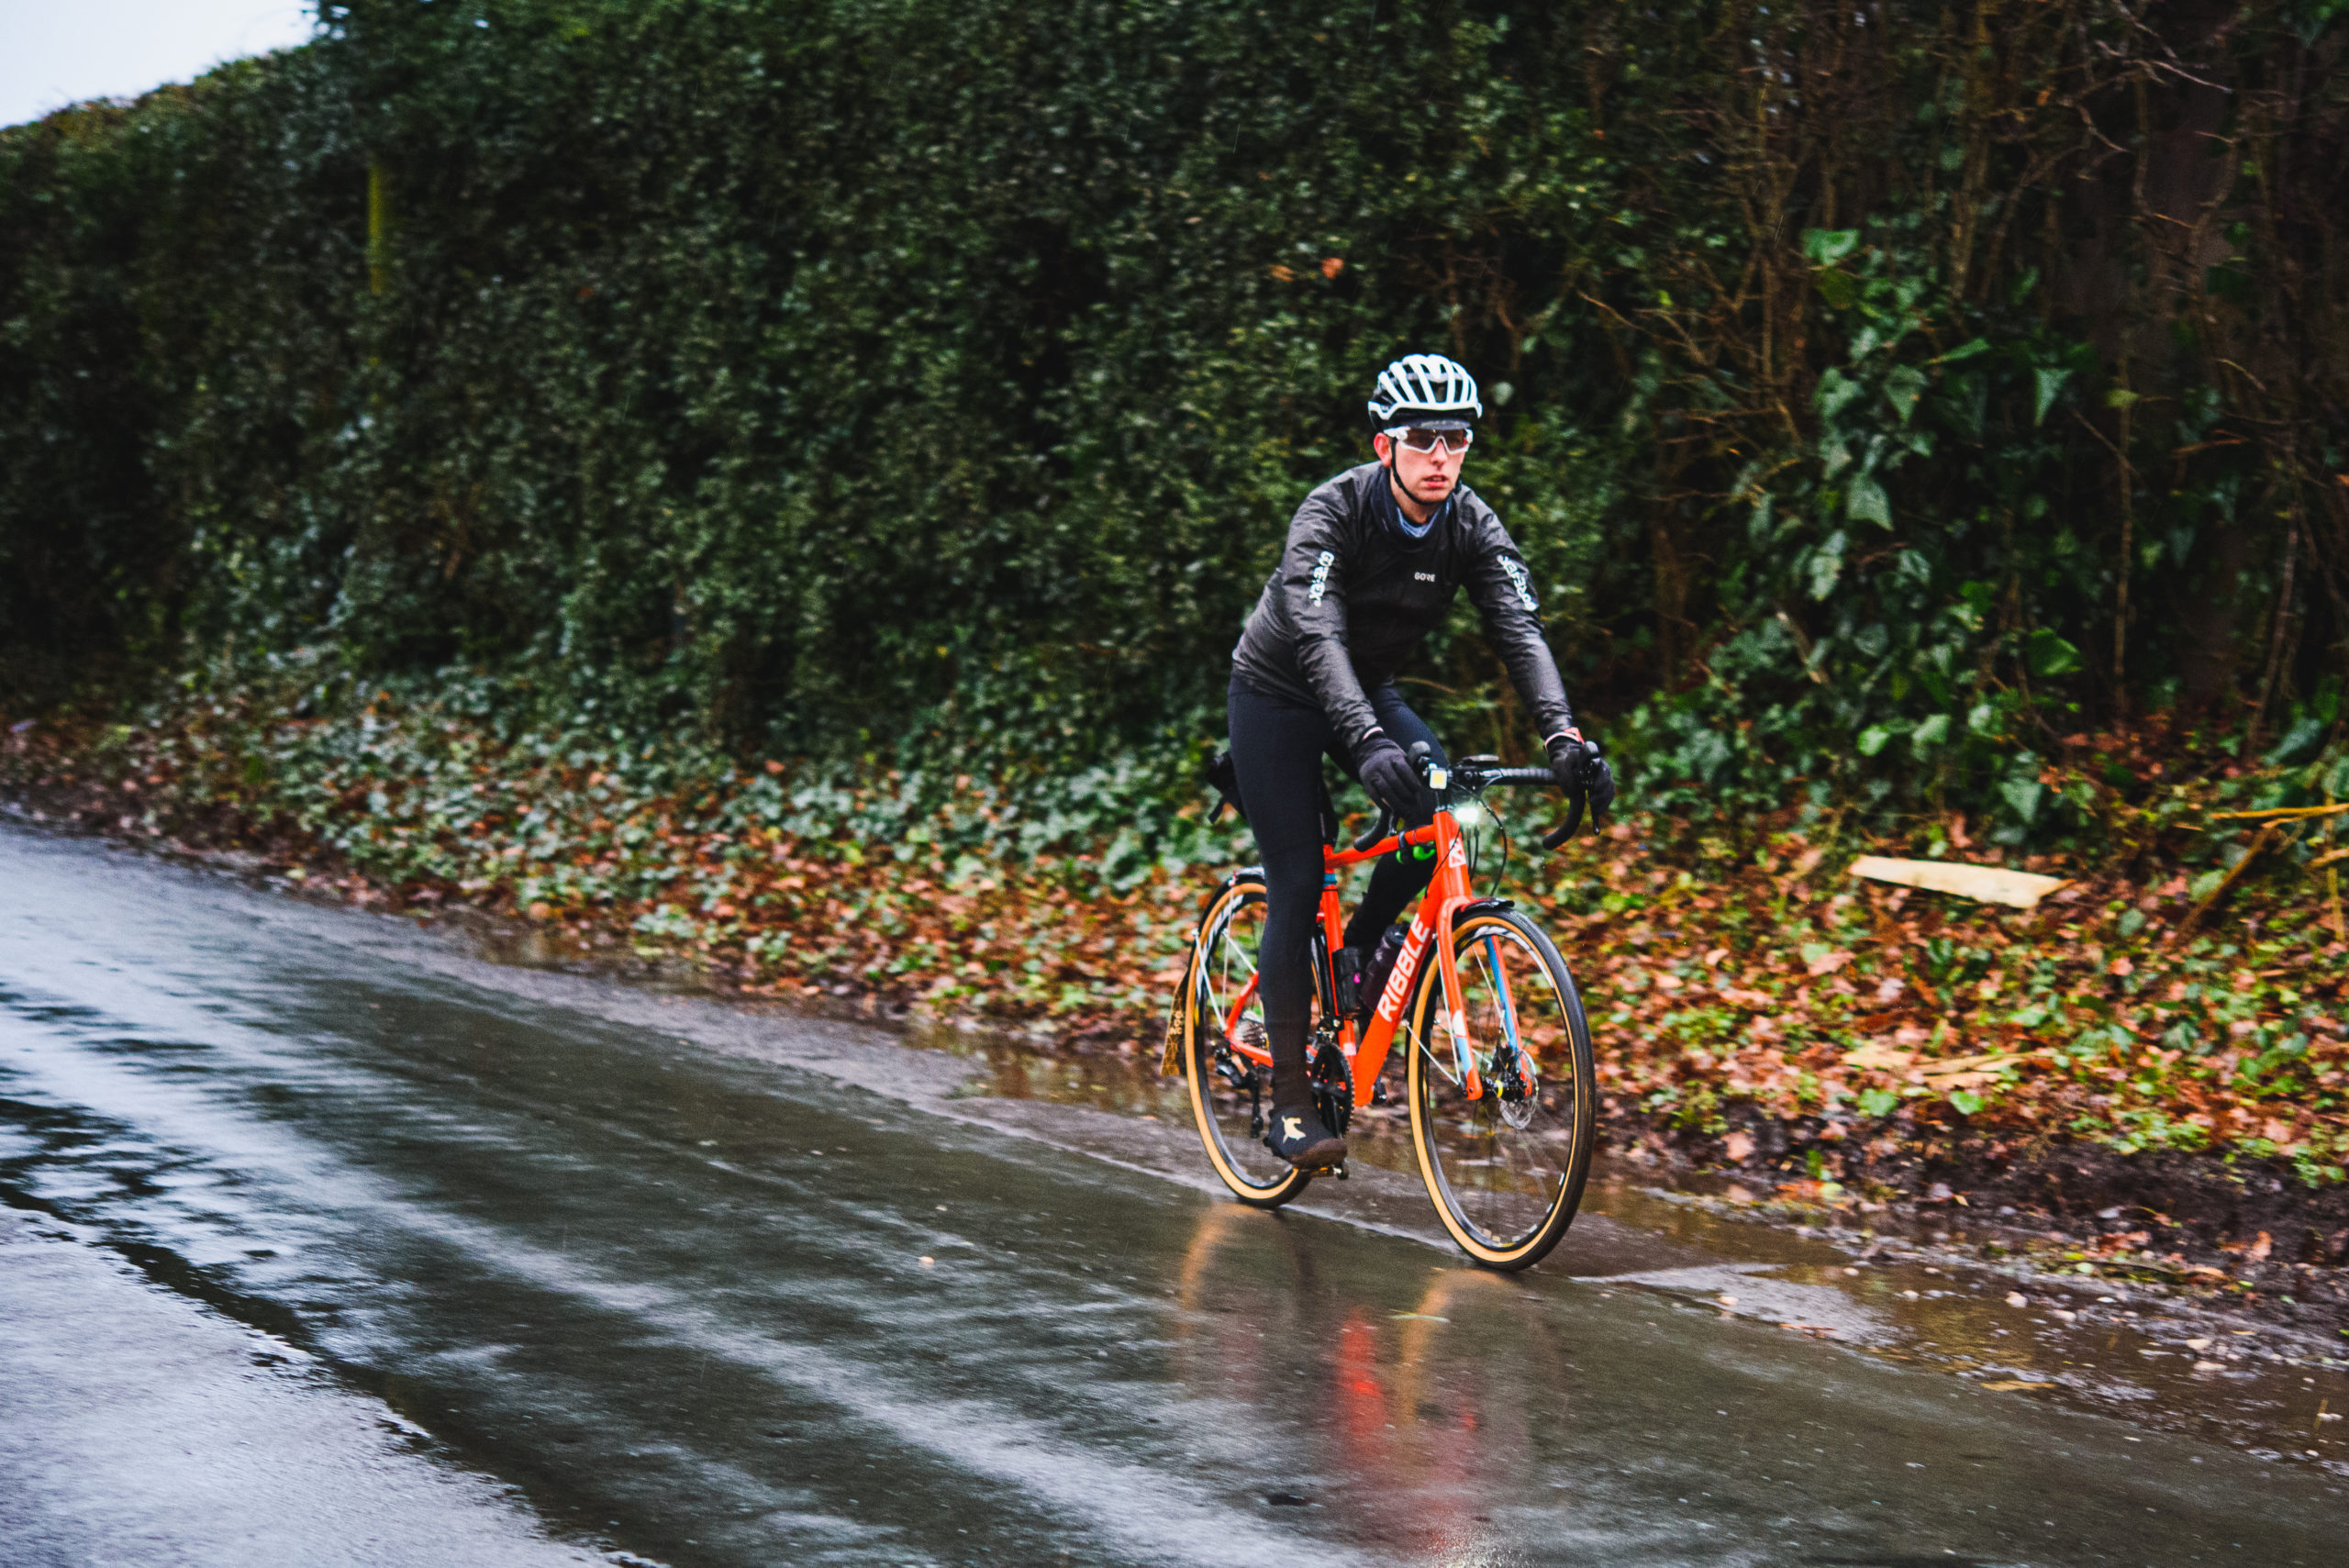
wet, wet, wet!
9. Lights
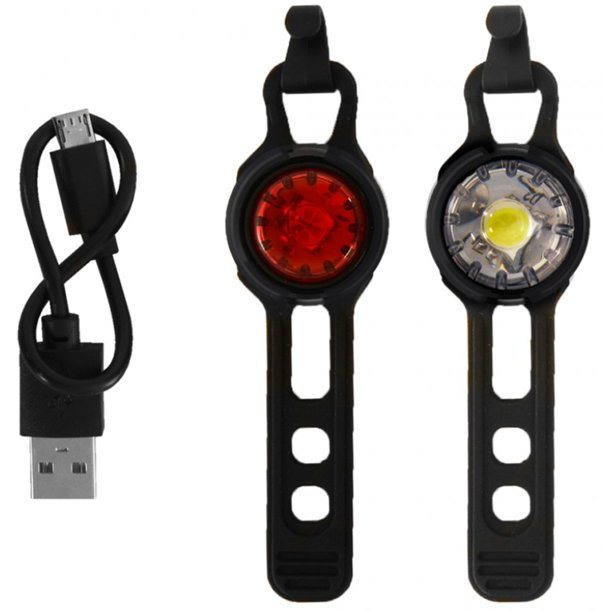
The old adage of Be Safe, Be Seen has never been more true. There's a school of thought in cycling circles that you should have lights on, even in daylight. No matter which side of the discussion you fall, it's better to have a set of lights fitted. Particularly if you're heading out in murky conditions or its bright sunlight when you set off but its forecast to change on your return. Even a set up of backup lights like those pictured is better than none at all.
Make yourself visible with our range of lights here.
There's a lot to be said for spending quality time together in the great outdoors. That's why Hannah ordered her one-bike-to-do-it-all a CustomColour CGR 725. Read about her story here.
Meet ex semi-pro rider and showroom manager of The Mailbox, Birmingham, Joe Fox. Click here for his cycling story.